Thank you for purchasing SlumberTek!
I hope this quick start guide helps you to get your SlumberTek up and running as quickly as possible 😊.
Install firmware
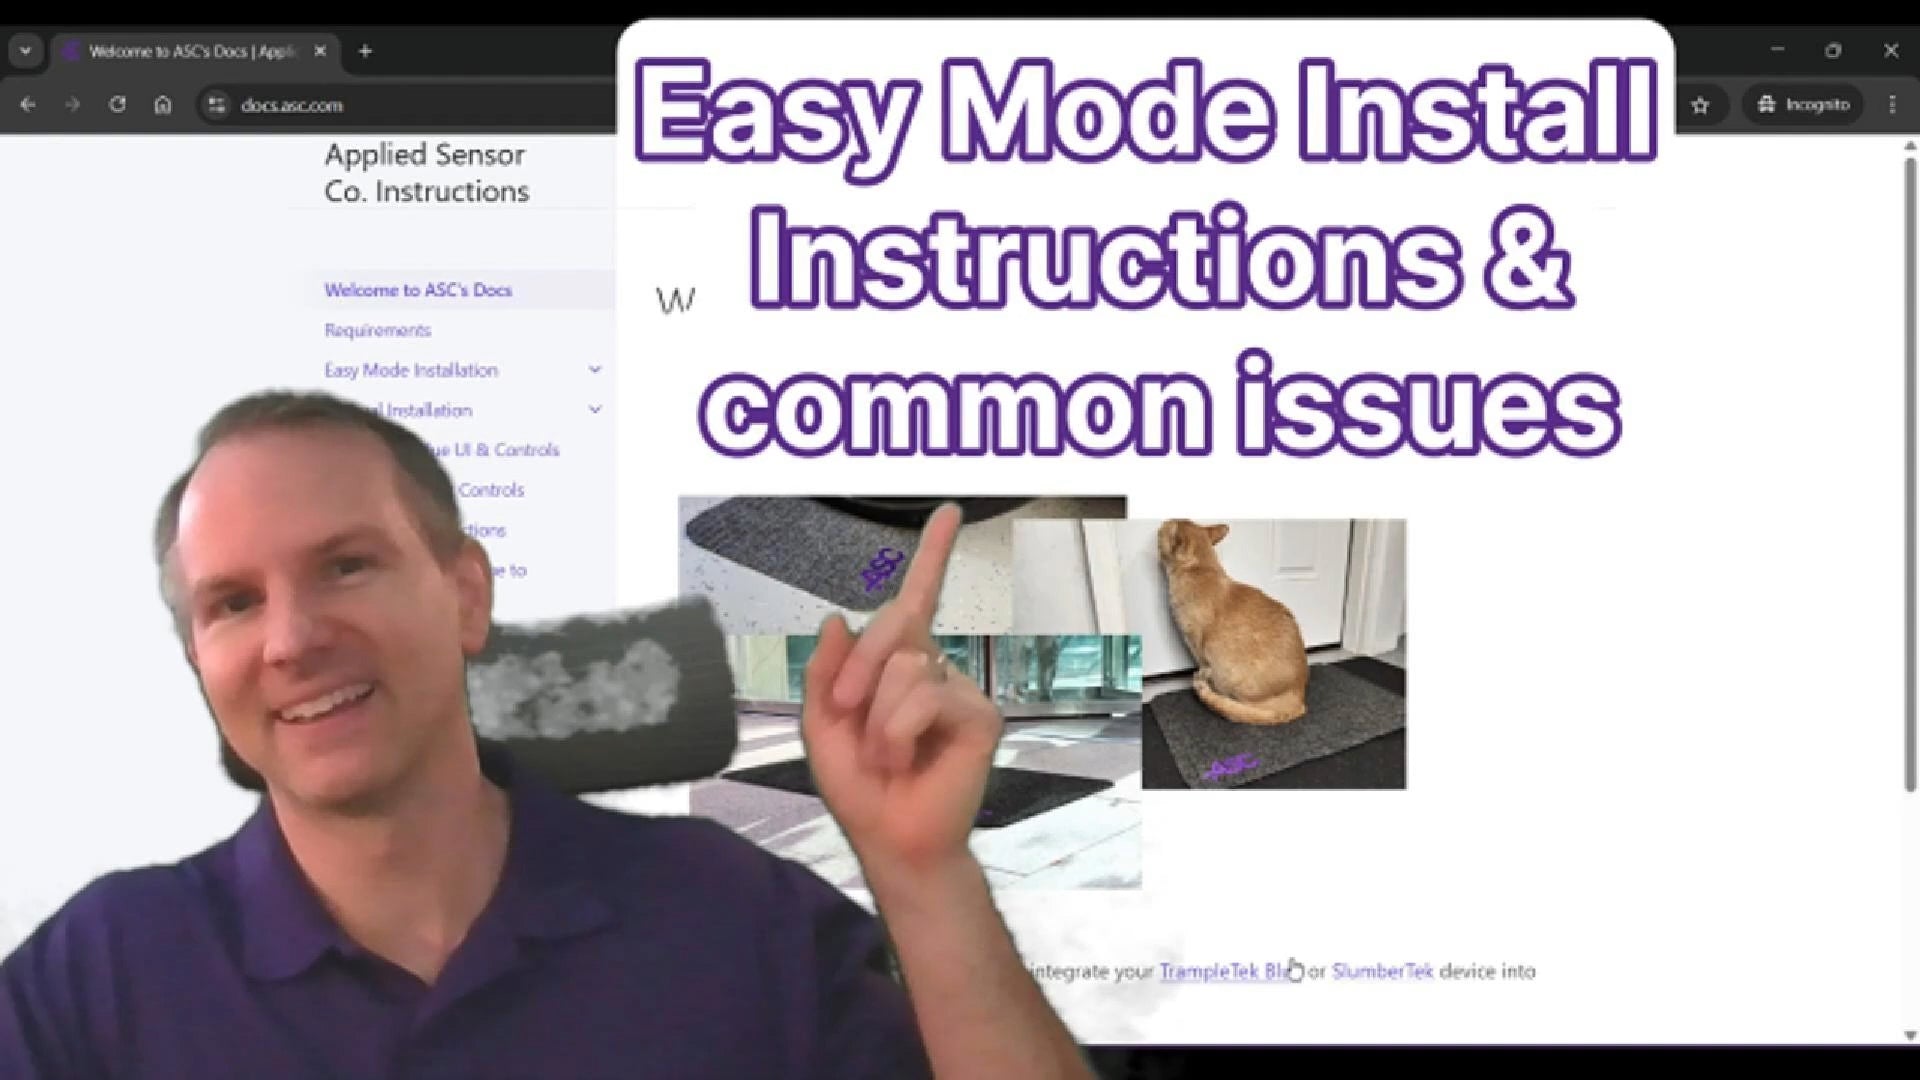
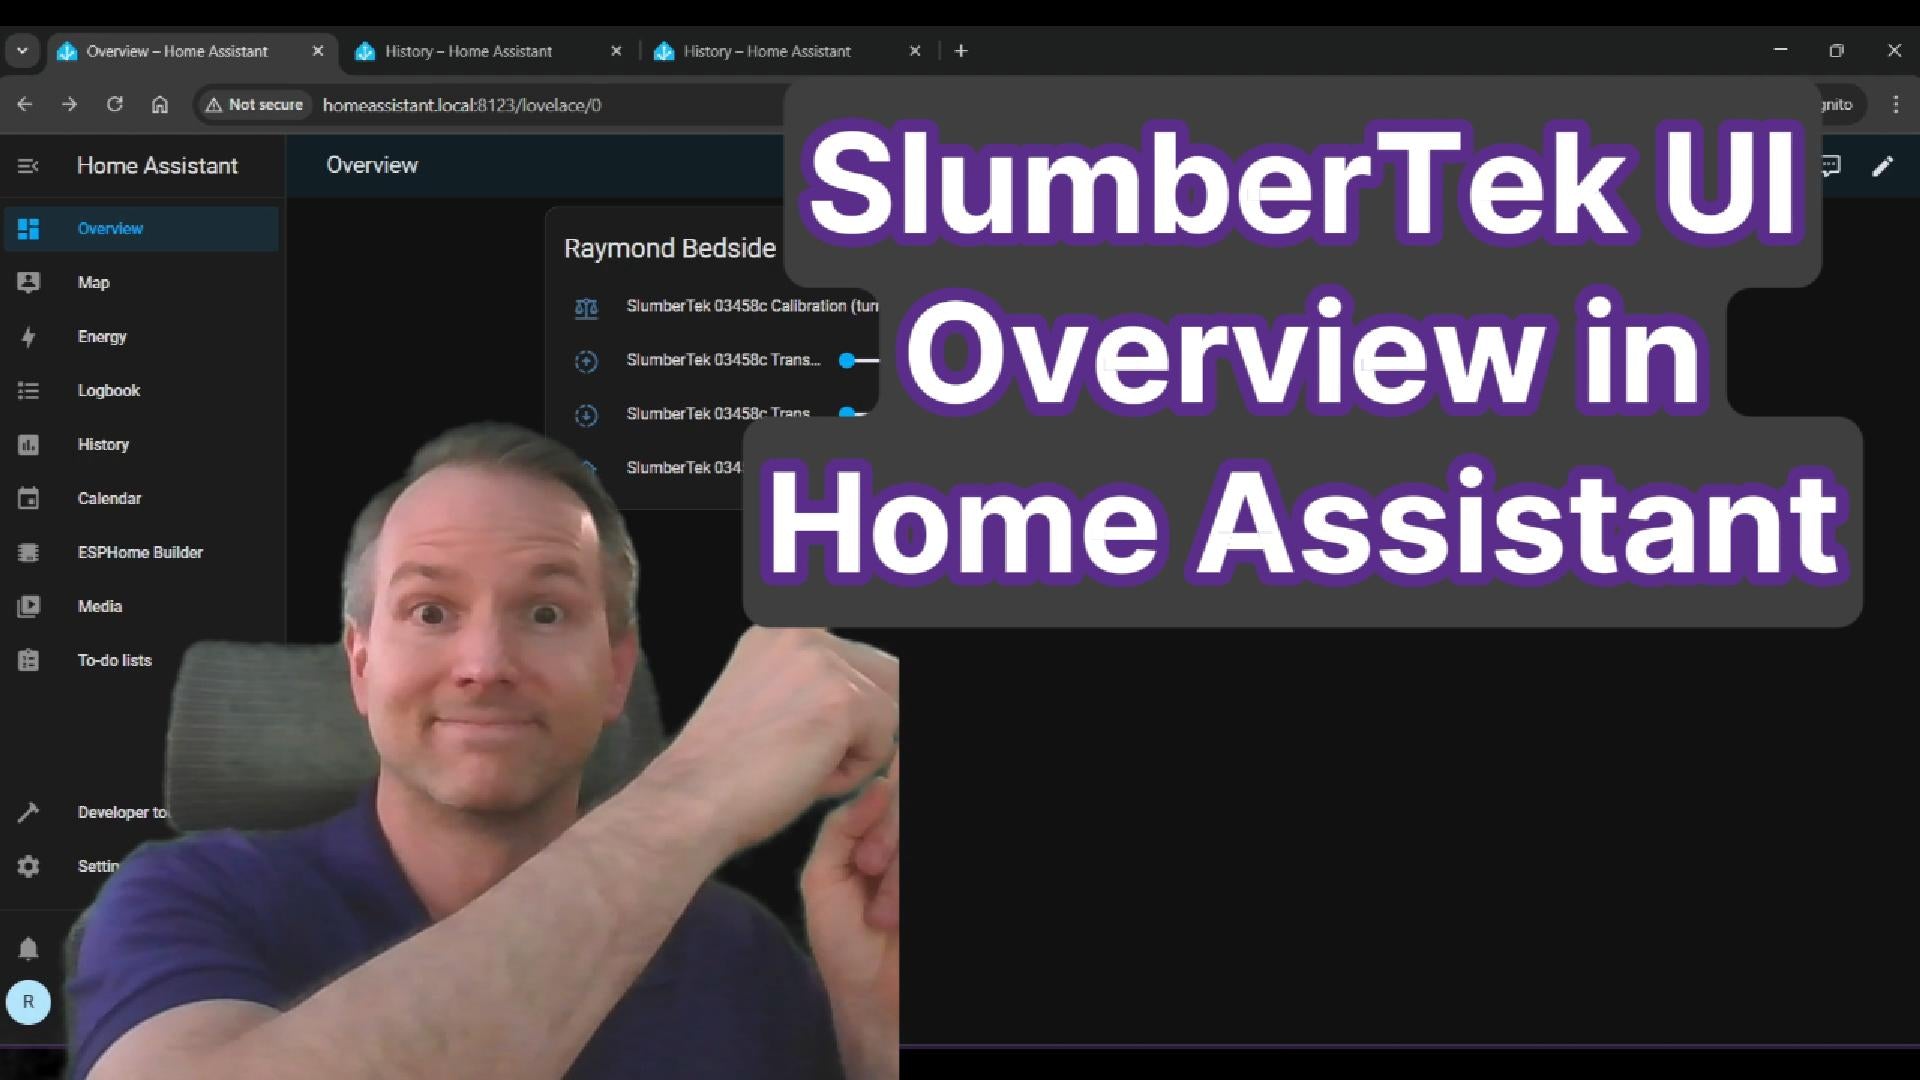
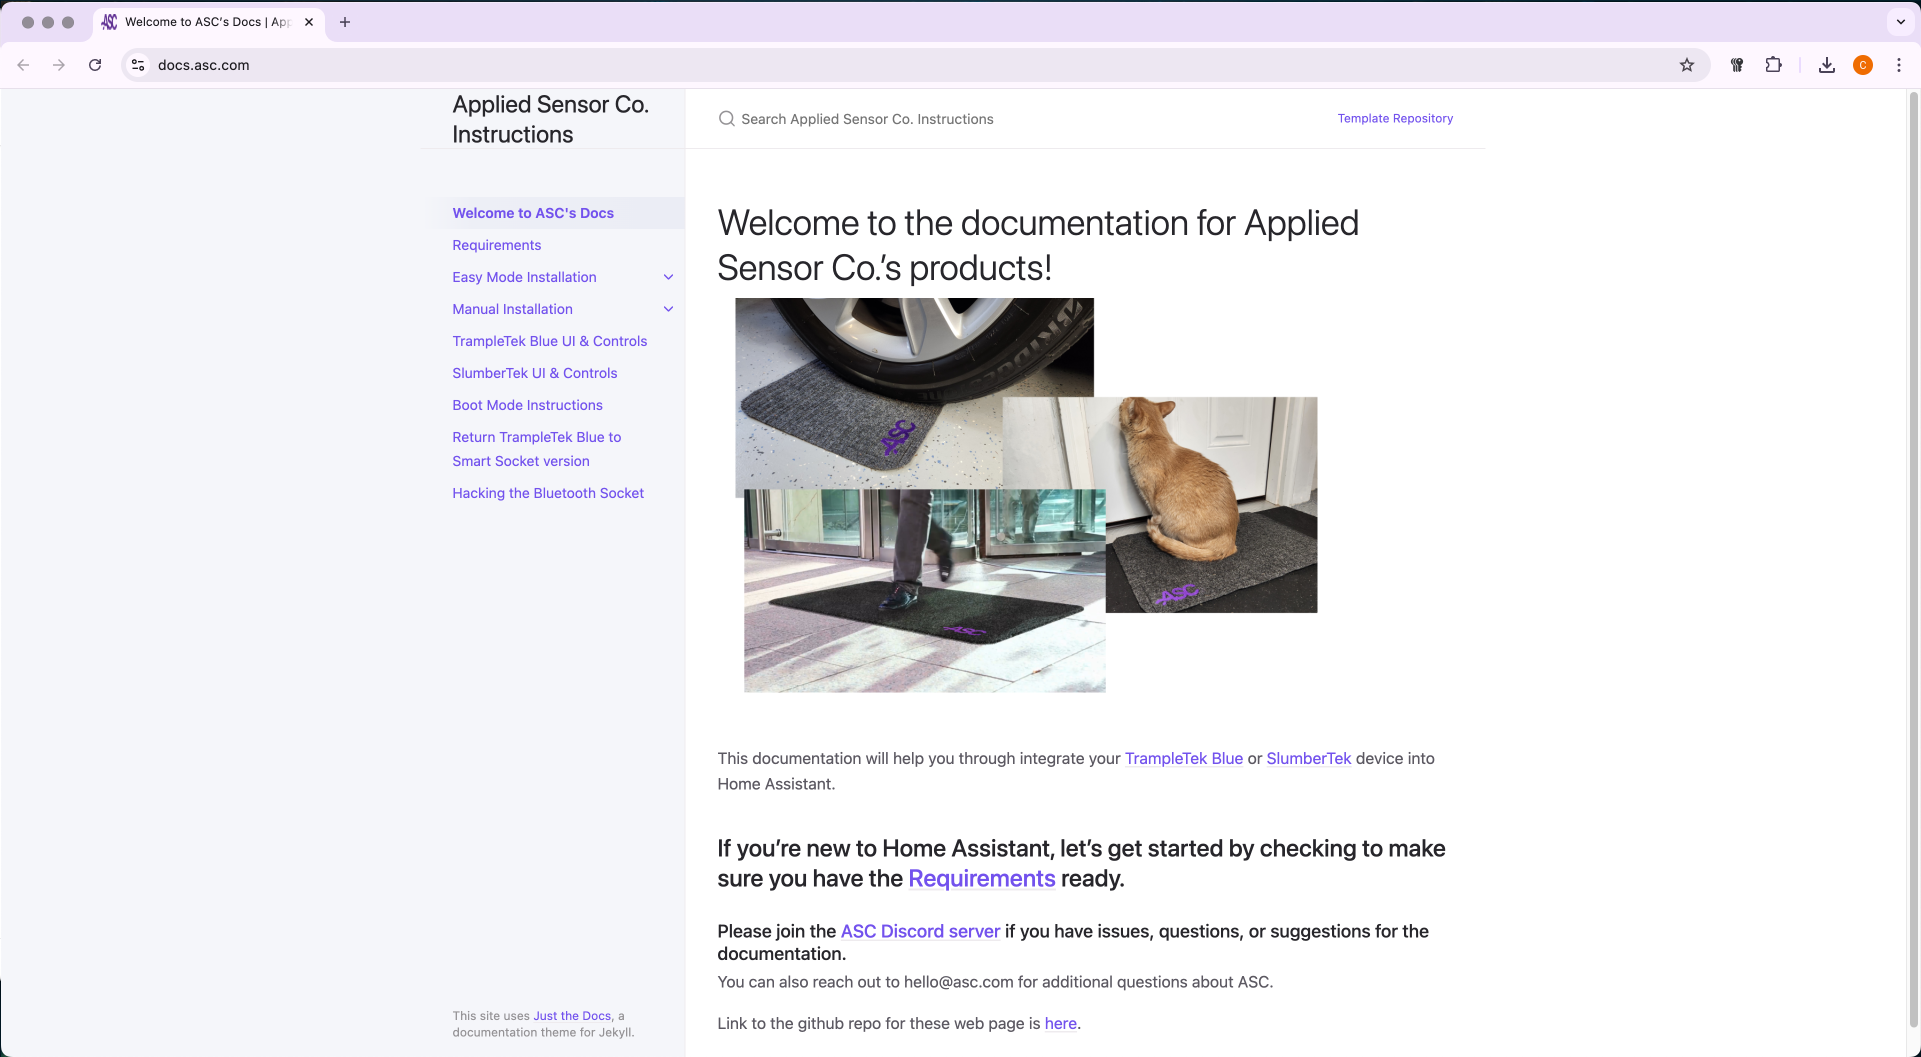
Watch this video, or go to https://docs.asc.com/EasyModeInstall.html for the latest installation instructions.
You will receive Home Assistant notifications whenever there are firmware updates.
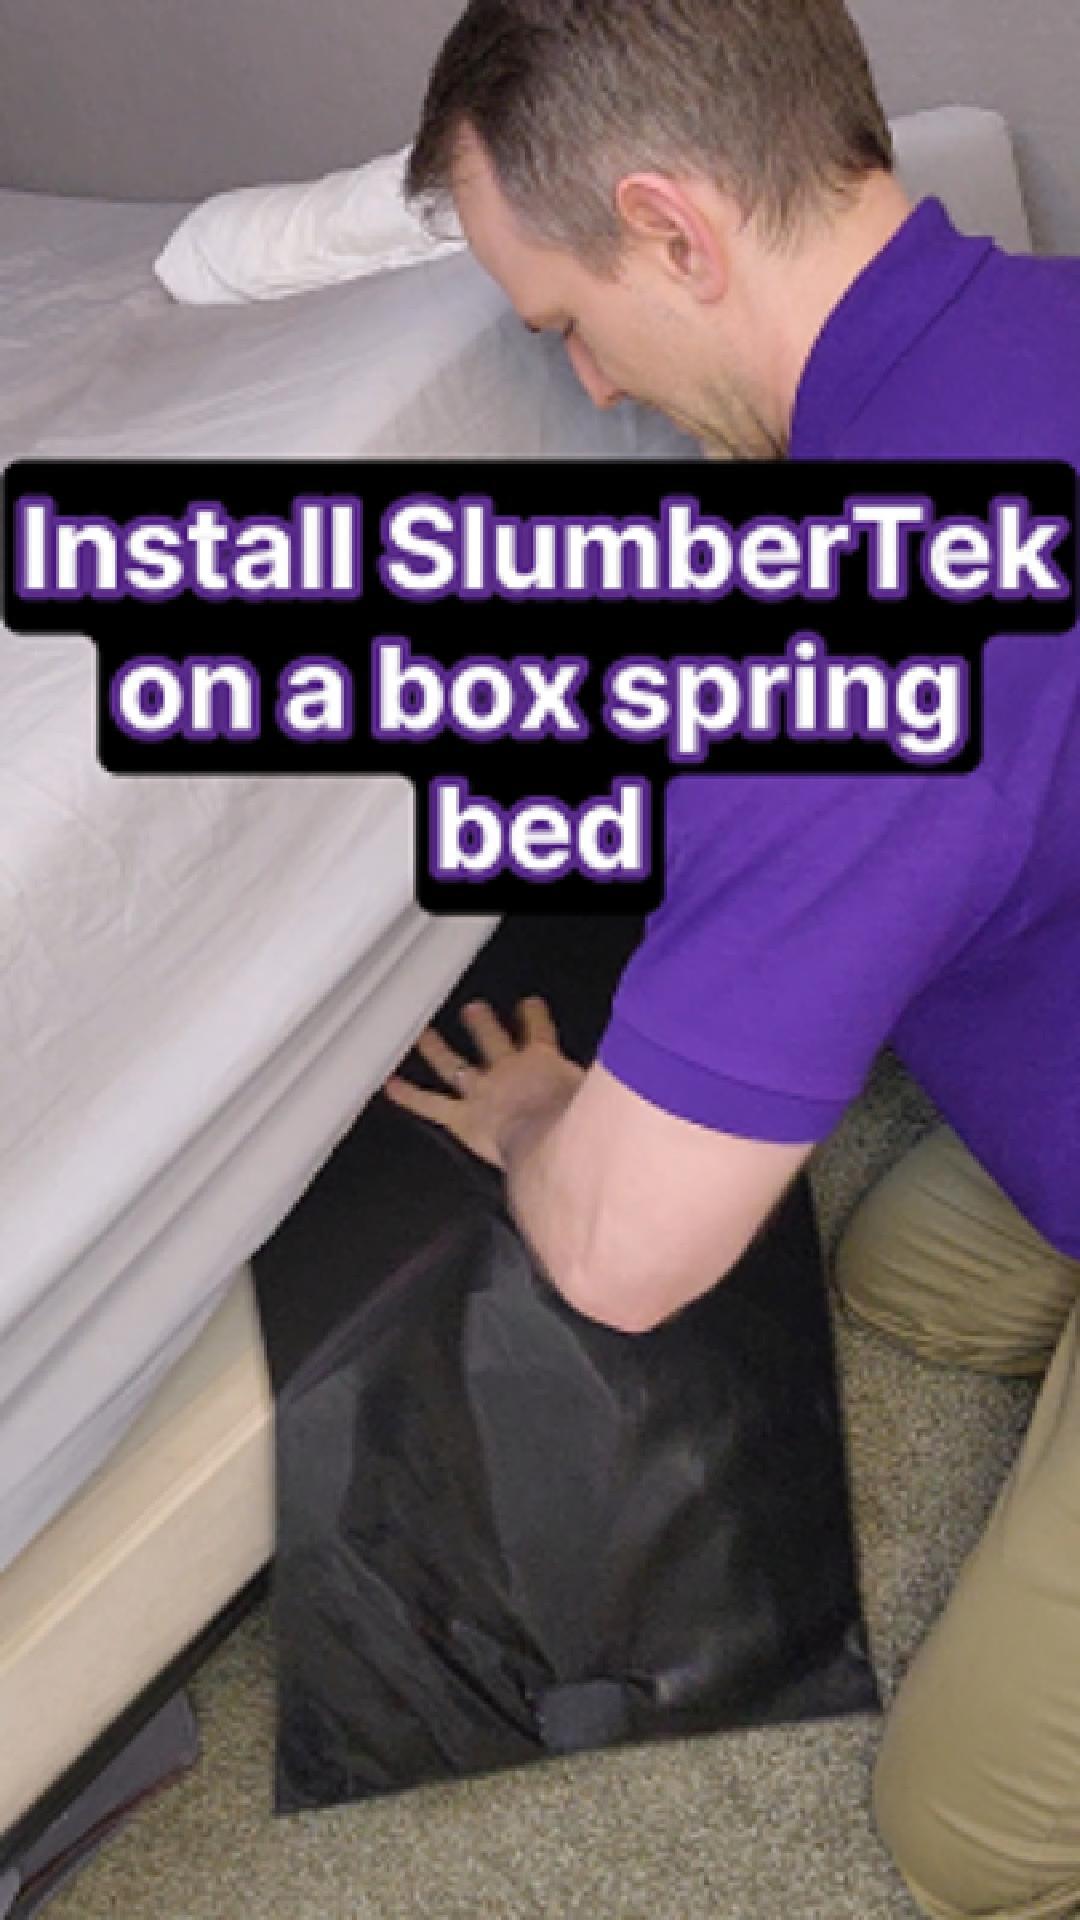
Install SlumberTek with Box Spring Beds
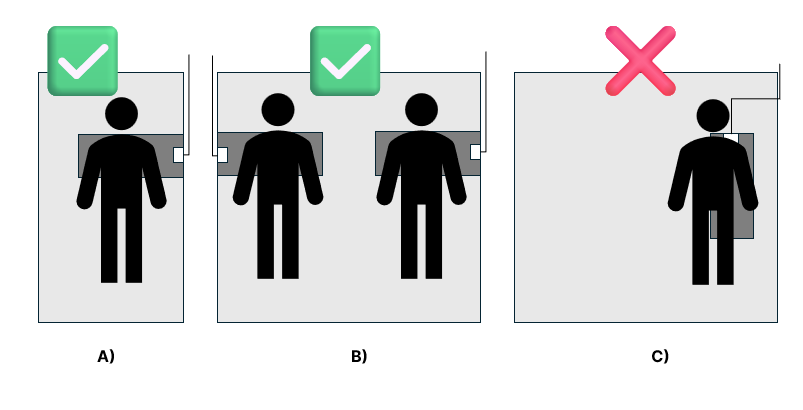
Place your SlumberTek sensor under your mattress at chest level, with the electronics box positioned toward the outside edge of the bed, which helps keep the WiFi antenna clear of the bed frame and reduces strain on the USB-C connection.
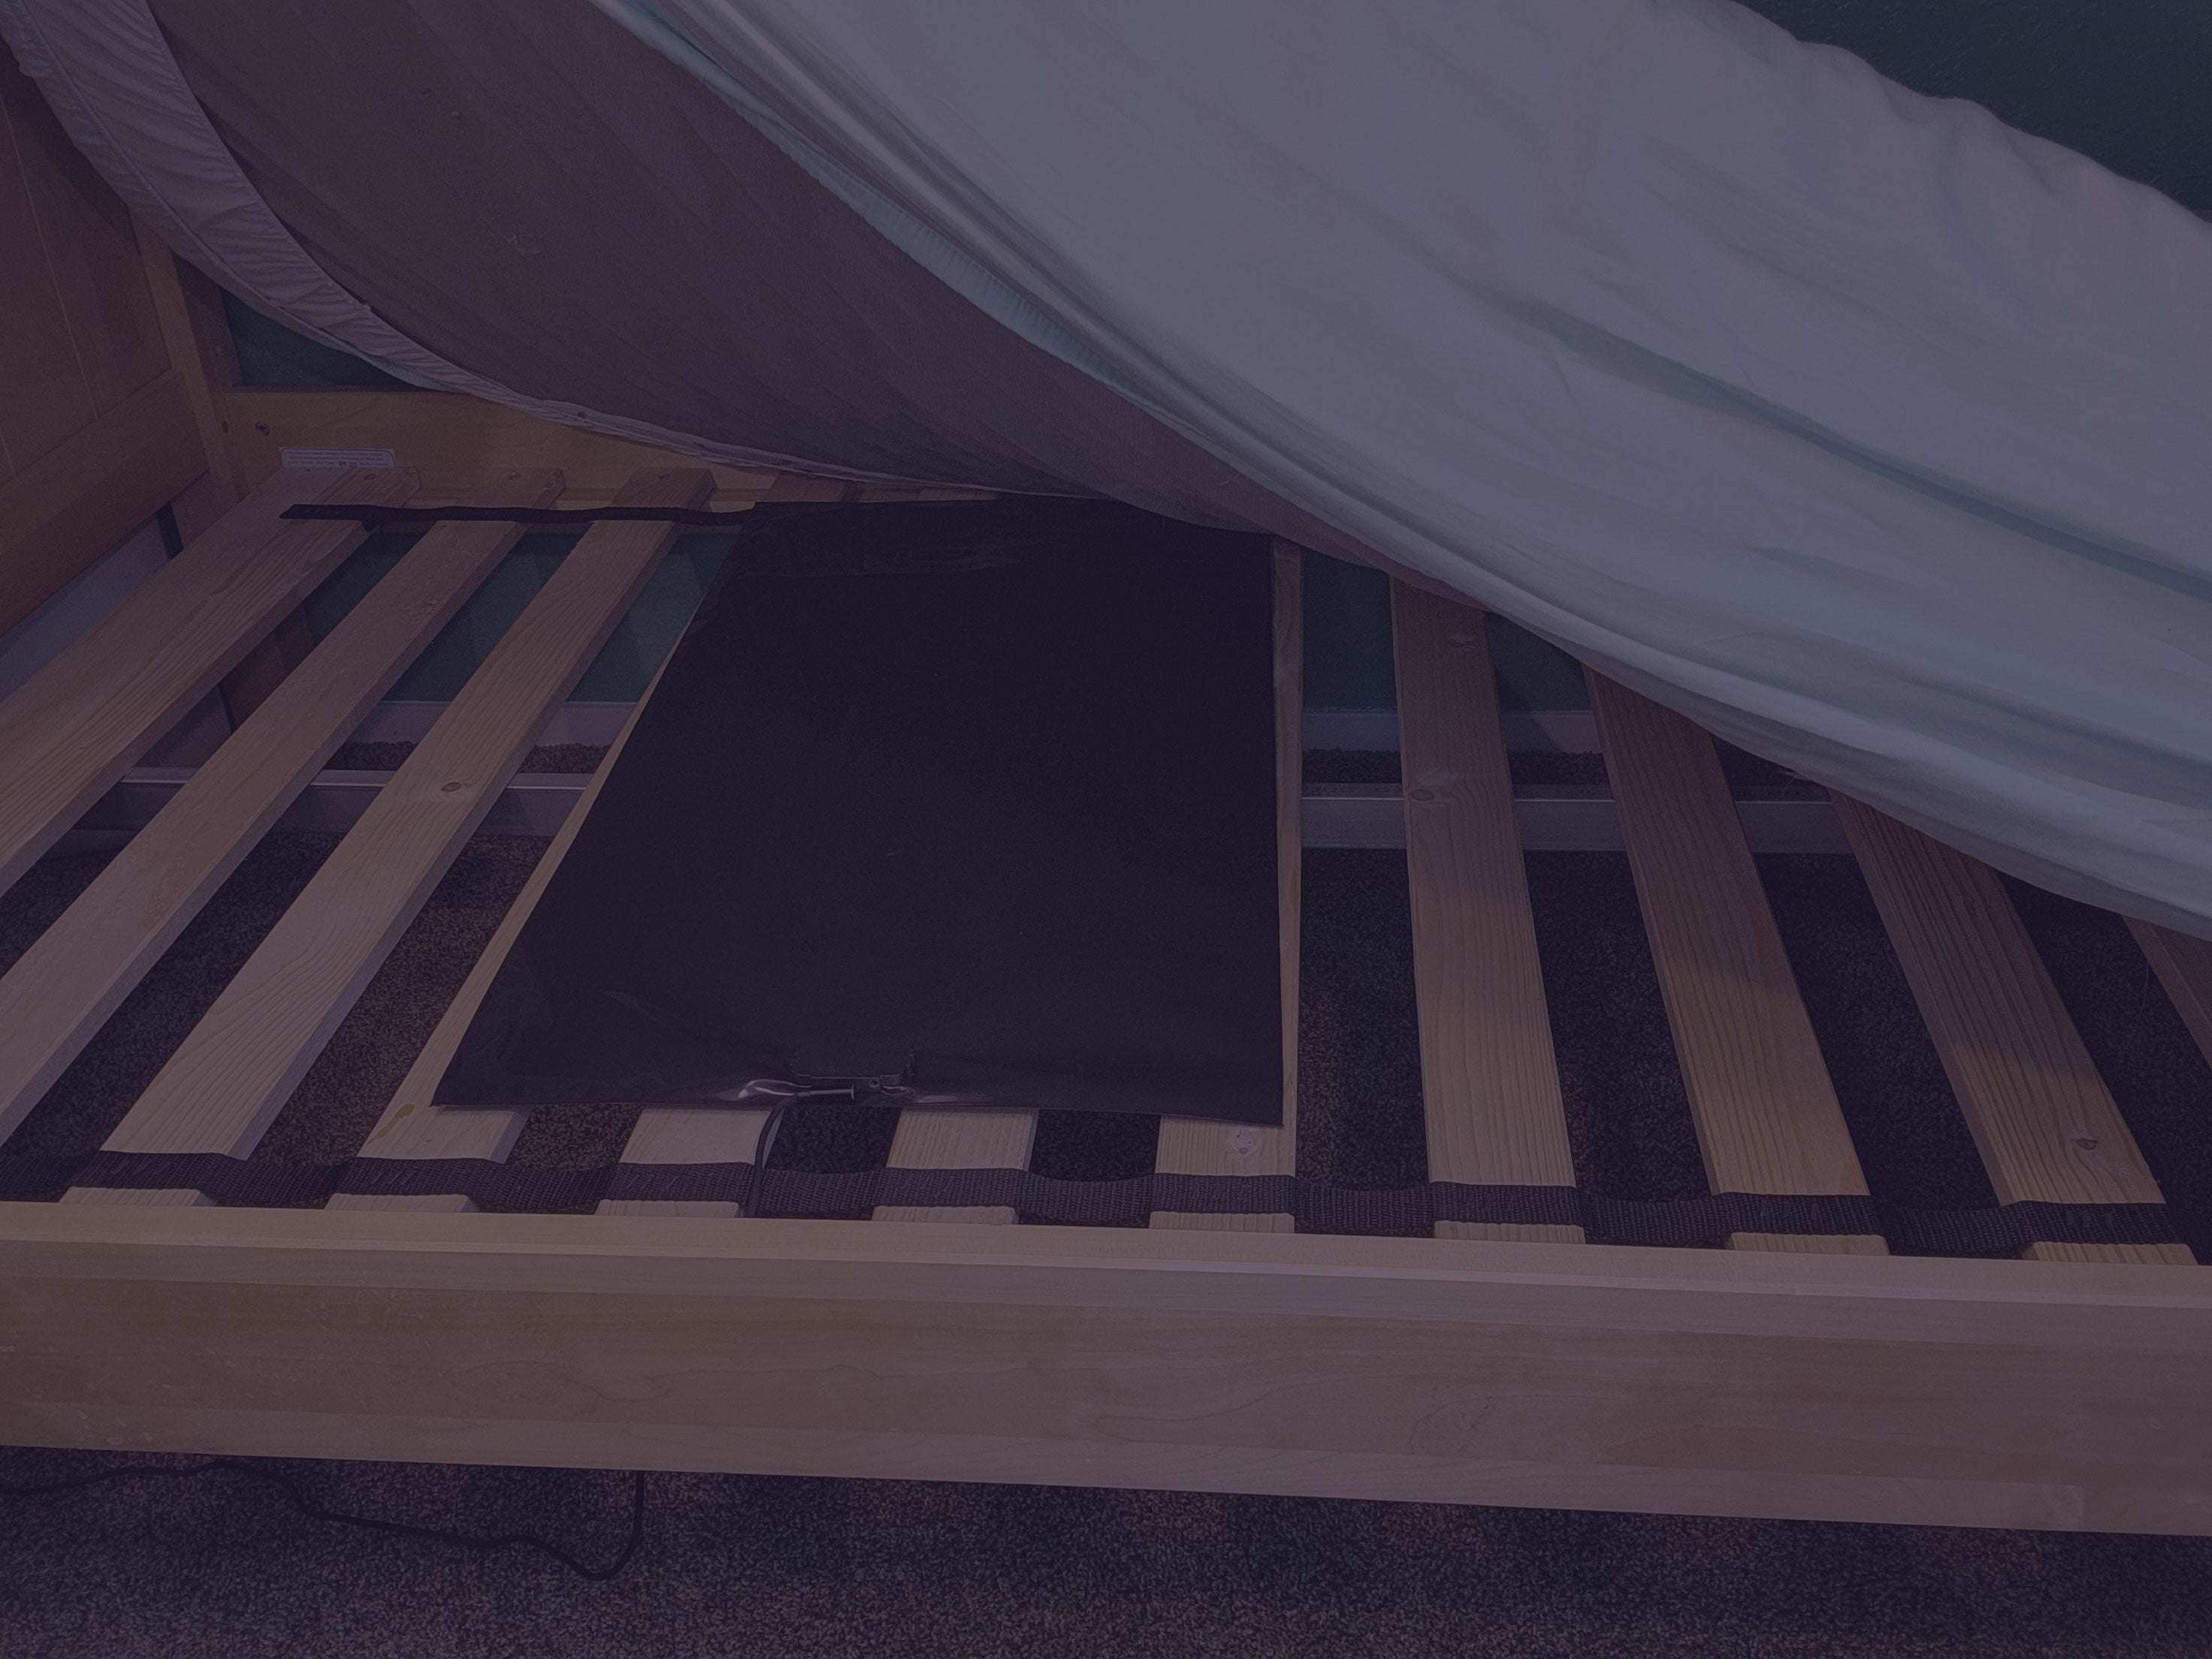
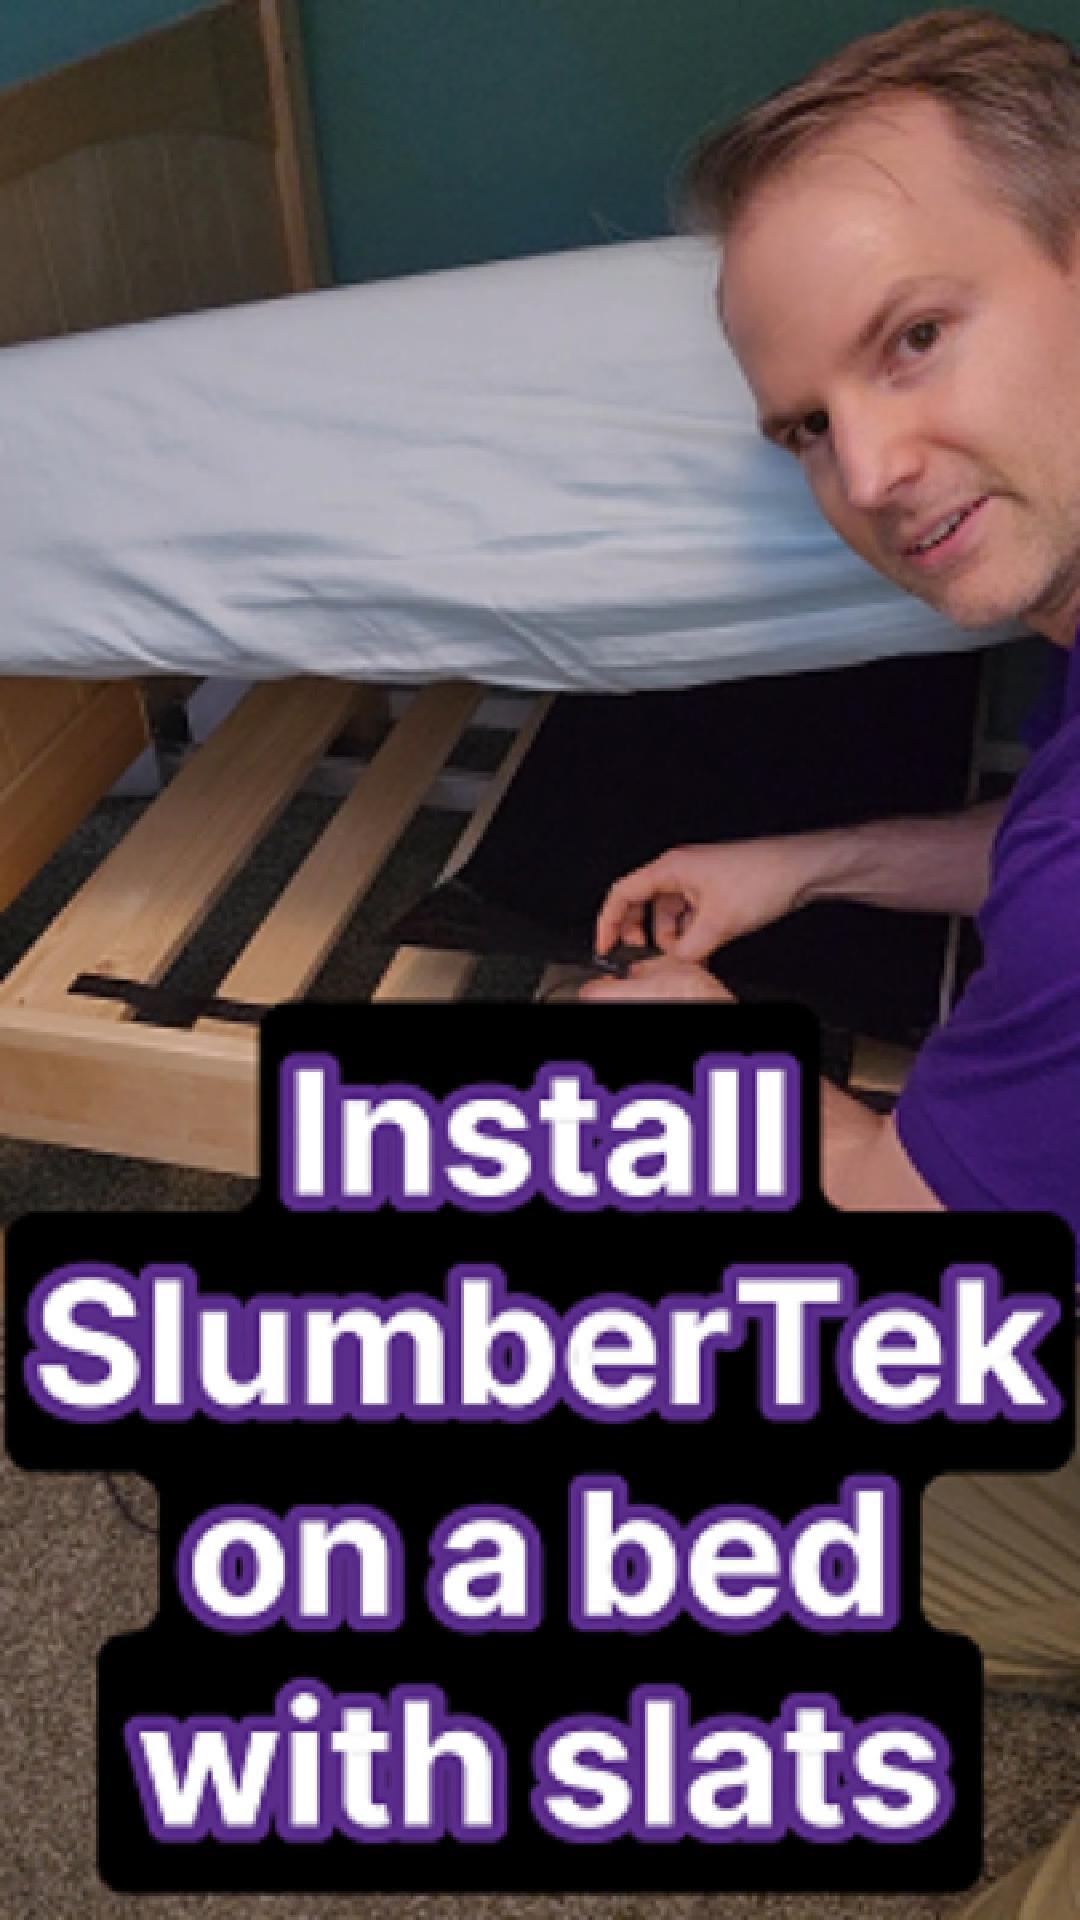
Install SlumberTek with Slat Bed Frames
If you have slats, re-use the packaging to cover the gaps and improve your SlumberTek's pressure signal!
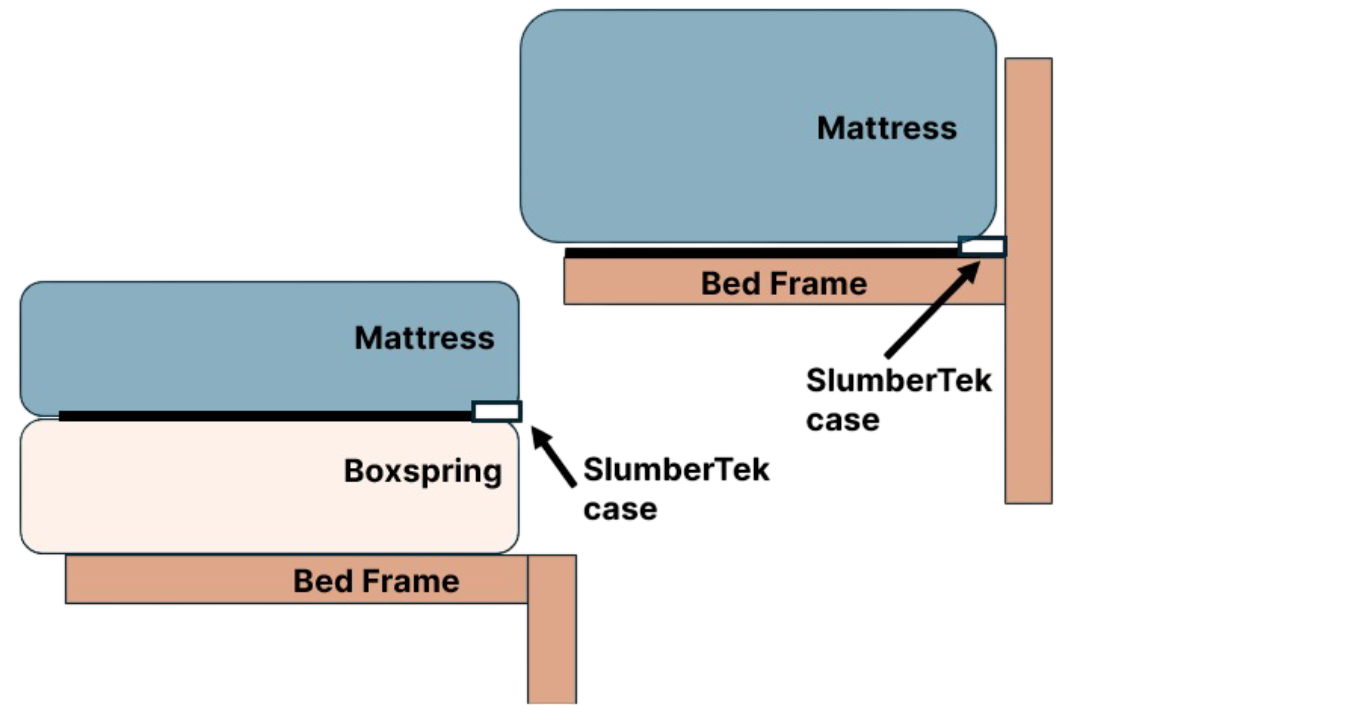
Here is a side view showing the recommended placement of the SlumberTek electronics case for both slatted and box spring beds.
Make sure SlumberTek is under the mattress perpendicular to your body at around chest level.
Calibration in Home Assistant
After your first calibration SlumberTek will use its adaptive learning algorithm to automatically re-calibrate as needed. This will help keep your SlumberTek accurate over the days and months!
Check out the docs
If you want to learn more about your SlumberTek go to https://docs.asc.com/SlumberTek.html for the latest information and learn more about the auto-calibration and hidden UI elements!
Deep dive into SlumberTek
This video walks through some key troubleshooting tips, sensor insights, and configuration adjustments. Solve issues with false or slow detection signals, pets triggering SlumberTek, and more in this deep-dive tutorial.
That's it. You're Done!
SlumberTek is now fully installed in your Home Assistant!
Join the ASC Discord for troubleshooting tips and discussions on using your SlumberTek.

